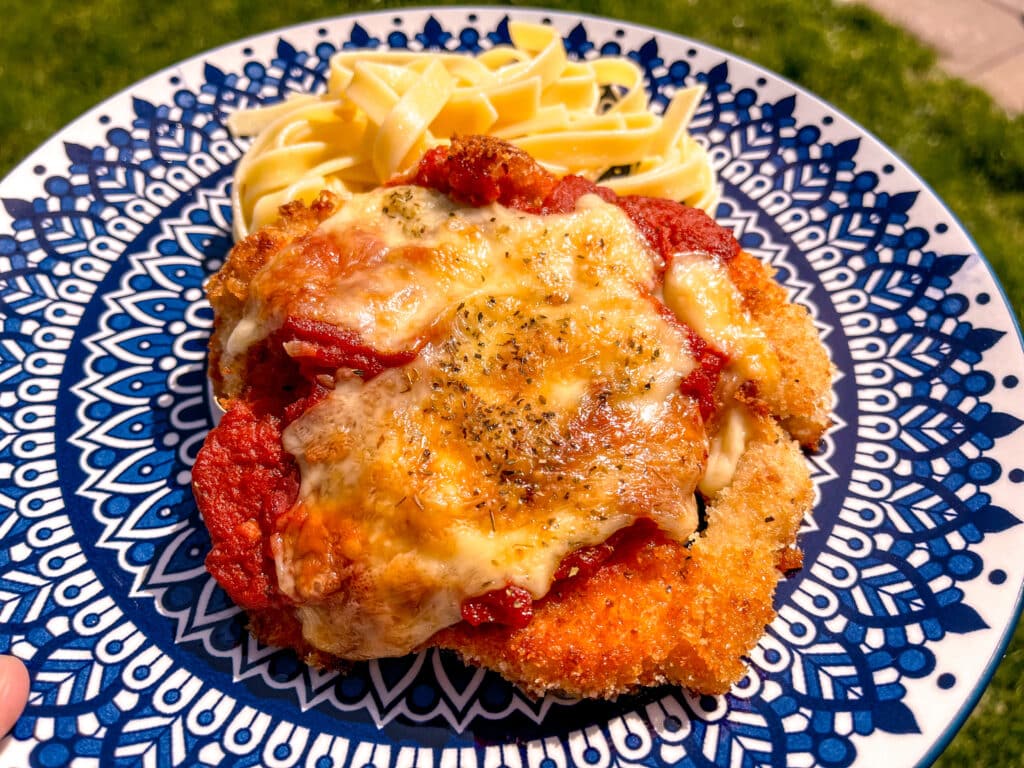
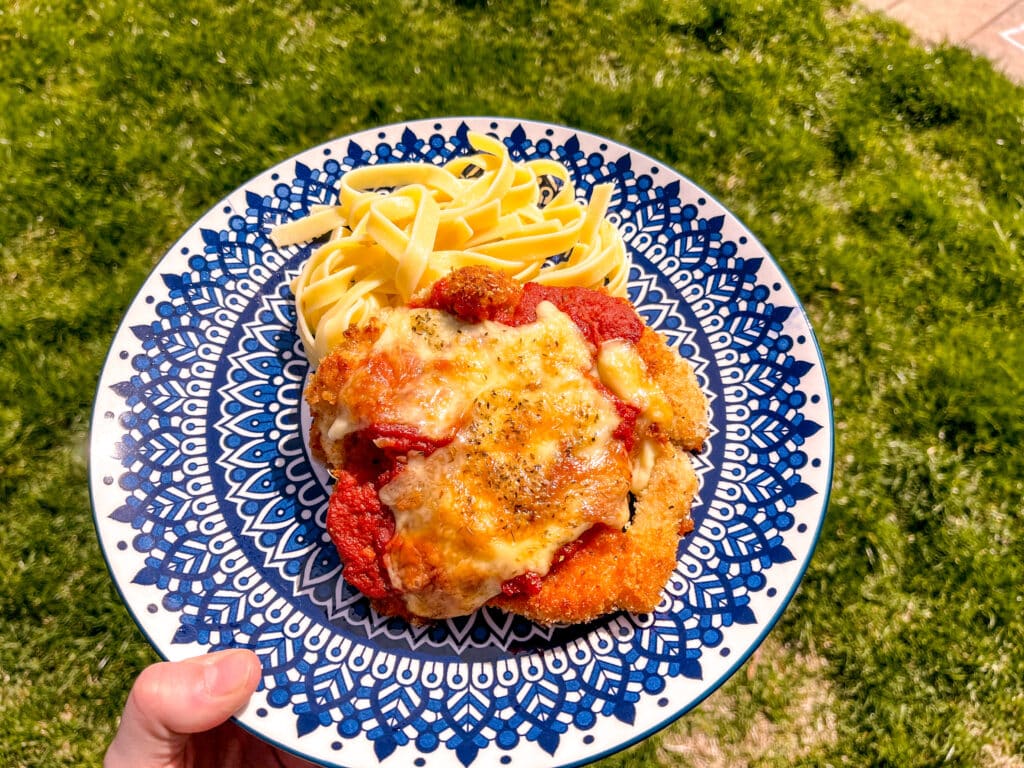
This is my Ultimate Chicken Parmigiana—just like East Side Mario’s, only better! Crispy, golden cutlets smothered in tangy marinara and melted mozzarella. It’s my husband’s all-time favorite, and after 15 years of perfecting it, this is the best version yet.
📋 Table of Contents
Why should you try this chicken parmigiana recipe?
Why this Chicken Parmigiana is different
Compared to other recipes, this one:
✅ Saves you time
✅ Minimizes mess
✅ Is budget-friendly
✅ Turns out perfect every time
✨ The chicken is moist and juicy inside, with a crispy, golden crust on the outside.
What makes it work?
- 🧂 Panko → adds extra crunch
- 🥄 Mayo → keeps the chicken tender
- 🔥 Oven finish → seals in juiciness while keeping that crispy coating
How it saves time (and dishes)
Most recipes need a whole lineup of plates—flour, egg, breadcrumbs.
Here, you just need a cutting board and one bowl to bread the chicken. Simple as that.
How it saves money
🥚 I used to run out of eggs mid-breading and have to toss what was left—such a waste.
This recipe uses mayo instead of eggs, so there’s no more ingredient waste.
Ingredients:

Here’s everything you need—and what to use if you don’t have it on hand. No stress, no judgment 😊
🍗 Chicken
You can either cut the breasts in half or butterfly them (slice almost all the way through but leave them connected). This helps them cook faster and more evenly.
🧂 Salt & Garlic Powder
These season the chicken and make it super flavorful.
👉 Just keep in mind: cheese and marinara sauce already contain salt, so season with care.
🥄 Mayo (my secret weapon!)
I used to use eggs. But you know what’s in mayo? Eggs!
So I started using mayo instead, and it’s been a game changer:
- Keeps the chicken extra juicy
- No more wasted eggs
- Scoop out just what you need
💡 I highly recommend sticking with mayo—it really makes a difference.
🥖 Panko Bread Crumbs
These give the chicken that extra crispy crust we all love.
You can use regular breadcrumbs, but it won’t be quite as crispy.
🍅 Marinara Sauce
Use what you’ve got!
- Homemade or store-bought marinara
- Tomato passata works too
If I’m using passata, I like to add a pinch of garlic and Italian herbs to boost the flavor.
🧀 Mozzarella & Parmesan Cheese
This is the final cheesy layer on top.
- Block cheese tastes best if you grate it yourself
- But let’s be real—I usually use pre-shredded now (mom life 😅)
- No Parmesan? Skip it or sub with another cheese
- No mozzarella? Try provolone or cheddar—I’ve used both!
Basically, use what you have and it’ll still turn out delicious.
Directions:

1:Start by preheating your oven to 400 degrees F.
2: Cut the chicken in half (or butterfly it) and pat it with paper towels.
3: Season each breast with salt and garlic powder on both sides.

4: Spread a thin layer of mayo on both sides of the chicken.

5: Pour the Panko bread crumbs into a shallow bowl. Coat each chicken breast in Panko bread crumbs. Make sure to press the chicken into the bread crumbs to coat it completely.

6:Heat a large nonstick large sauté pan over medium heat. Add 2 tbsp of olive oil and pan-fry the chicken until golden brown. There is no need to cook the chicken all the way through—just make the Panko crumbs golden. The chicken will finish cooking in the oven.
7: Place the chicken on a foil-lined baking sheet. Don’t skip the foil! It’s great not having things stuck to the baking sheet. Trust me!

8: Spoon the marinara sauce over the chicken, then add the mozzarella cheese and the Parmesan cheese.

9: Bake it in the oven until the cheese melts and turns golden brown and until the chicken is cooked through (about 10 minutes).

What to Serve with Chicken Parmigiana?
My favorite side dish for Chicken Parmigiana is spaghetti aglio e olio. Make sure to check out my recipe for that! A nice salad, a vegetable side, French fries, mashed potatoes, or crusty bread would also be great choices.
Storage and reheating:
When you’re ready to eat:
– 🔁 Microwave for convenience
– 🔥 Oven or air fryer if you want to keep it crispy
Your crispy, cheesy chicken parm will be just as satisfying the next day!
FAQ:
Make sure the chicken is dry before breading it. Excess moisture is not your friend. Press the chicken into the breading to help it stick to all areas. Use a nonstick frying pan so that the coating doesn’t get stuck. Lift the chicken off with a spatula gently.
Cook it for longer. Use a meat thermometer to check.
If your chicken is still undercooked, cook it for longer. If your chicken is done already but the cheese still hasn’t melted, you can increase the oven temperature or turn the broil on until it melts and browns. Keep an eye on it and keep checking!
Printable Recipe Card
Ultimate Chicken Parmigiana (just like Mario’s)
Equipment
- 1 non-stick pan
- 1 cutting board
- 1 knife
- 1 baking sheet
- 1 shallow bowl
Ingredients
- 4 Chicken Breasts
- 2 tsps salt (suggested amount)
- 2 tsps garlic powder
- 4 tbsp mayo
- 1 cup Panko bread crumbs
- 1 cup marinara sauce
- 1/2 cup mozzarella cheese
- 1/4 cup parmesan cheese (optional)
- olive oil
Instructions
- Start by preheating your oven to 400 degrees F.
- Cut the chicken in half (or butterfly it) and pat it with paper towels.4 Chicken Breasts
- Season each breast with salt and garlic powder on both sides.2 tsps salt, 2 tsps garlic powder
- Spread a thin layer of mayo on both sides of the chicken.4 tbsp mayo
- Pour the Panko bread crumbs into a shallow bowl. Coat each chicken breast in Panko bread crumbs. Make sure to press the chicken into the bread crumbs to coat it completely.1 cup Panko bread crumbs
- Heat a large nonstick pan over medium heat. Add 2 tbsp of olive oil and pan-fry until golden brown. There is no need to cook the chicken all the way through—just make the Panko crumbs golden.olive oil
- Transfer the chicken to a foil-lined baking sheet. Don’t skip the foil! It’s great not having things stuck to the baking sheet. Trust me!
- Spoon the marinara sauce over the chicken, then add the mozzarella cheese and the Parmesan cheese.1 cup marinara sauce, 1/2 cup mozzarella cheese, 1/4 cup parmesan cheese
- Bake it in the oven until the cheese melts and turns golden brown and until the chicken is cooked through (about 10 minutes).
Video
Notes
Nutrition
Did you make the recipe? Don’t forget to share it with me. I would love to see it! Don’t forget to follow tasty recollections on social media!
Until next time,
Claudia



Leave a Reply